第一个SpringBoot3程序
1.准备工作
新建Java空的工程,选择Maven作为构建工具。
在Project Structure设置全局JDK为21(SpringBoot3最低支持JDK17)。
在Settings中设置Maven仓库路径。
2.修改配置
在pom.xml中添加父工程和依赖。
<parent>
<groupId>org.springframework.bootgroupId>
<artifactId>spring-boot-starter-parentartifactId>
<version>3.3.5version>
parent>
<dependencies>
<dependency>
<groupId>org.springframework.bootgroupId>
<artifactId>spring-boot-starter-webartifactId>
dependency>
dependencies>3. 创建MyApplication.java
package com.sangui.springboot;
import org.springframework.boot.SpringApplication;
import org.springframework.boot.autoconfigure.SpringBootApplication;
/**
*@Author: sangui
*@CreateTime: 2025-04-21
*@Description: 所有的SpringBoot应用的主入口程序必须使用 @SpringBootApplication 注解进行标注
*@Version: 1.0
*/
@SpringBootApplication
public class MyApplication {
// 主入口,运行main方法就是启动服务器
public static void main(String[] args) {
SpringApplication.run(MyApplication.class, args);
}
}
4.创建HelloController.java
package com.sangui.springboot.controller;
import org.springframework.stereotype.Controller;
import org.springframework.web.bind.annotation.GetMapping;
import org.springframework.web.bind.annotation.ResponseBody;
import org.springframework.web.bind.annotation.RestController;
/**
* @Author: sangui
* @CreateTime: 2025-04-21
* @Description: 控制器,这个控制器必须在主入口程序的同级目录下或子目录下,其他目录不行。
* @Version: 1.0
*/
//@Controller
@RestController
public class HelloController {
@GetMapping("/hello")
//@ResponseBody
public String Hello() {
return "Hello,SpringBoot3!";
}
}
5.运行
运行MyApplication.java的main程序
在浏览器上输入
http://localhost:8080/hello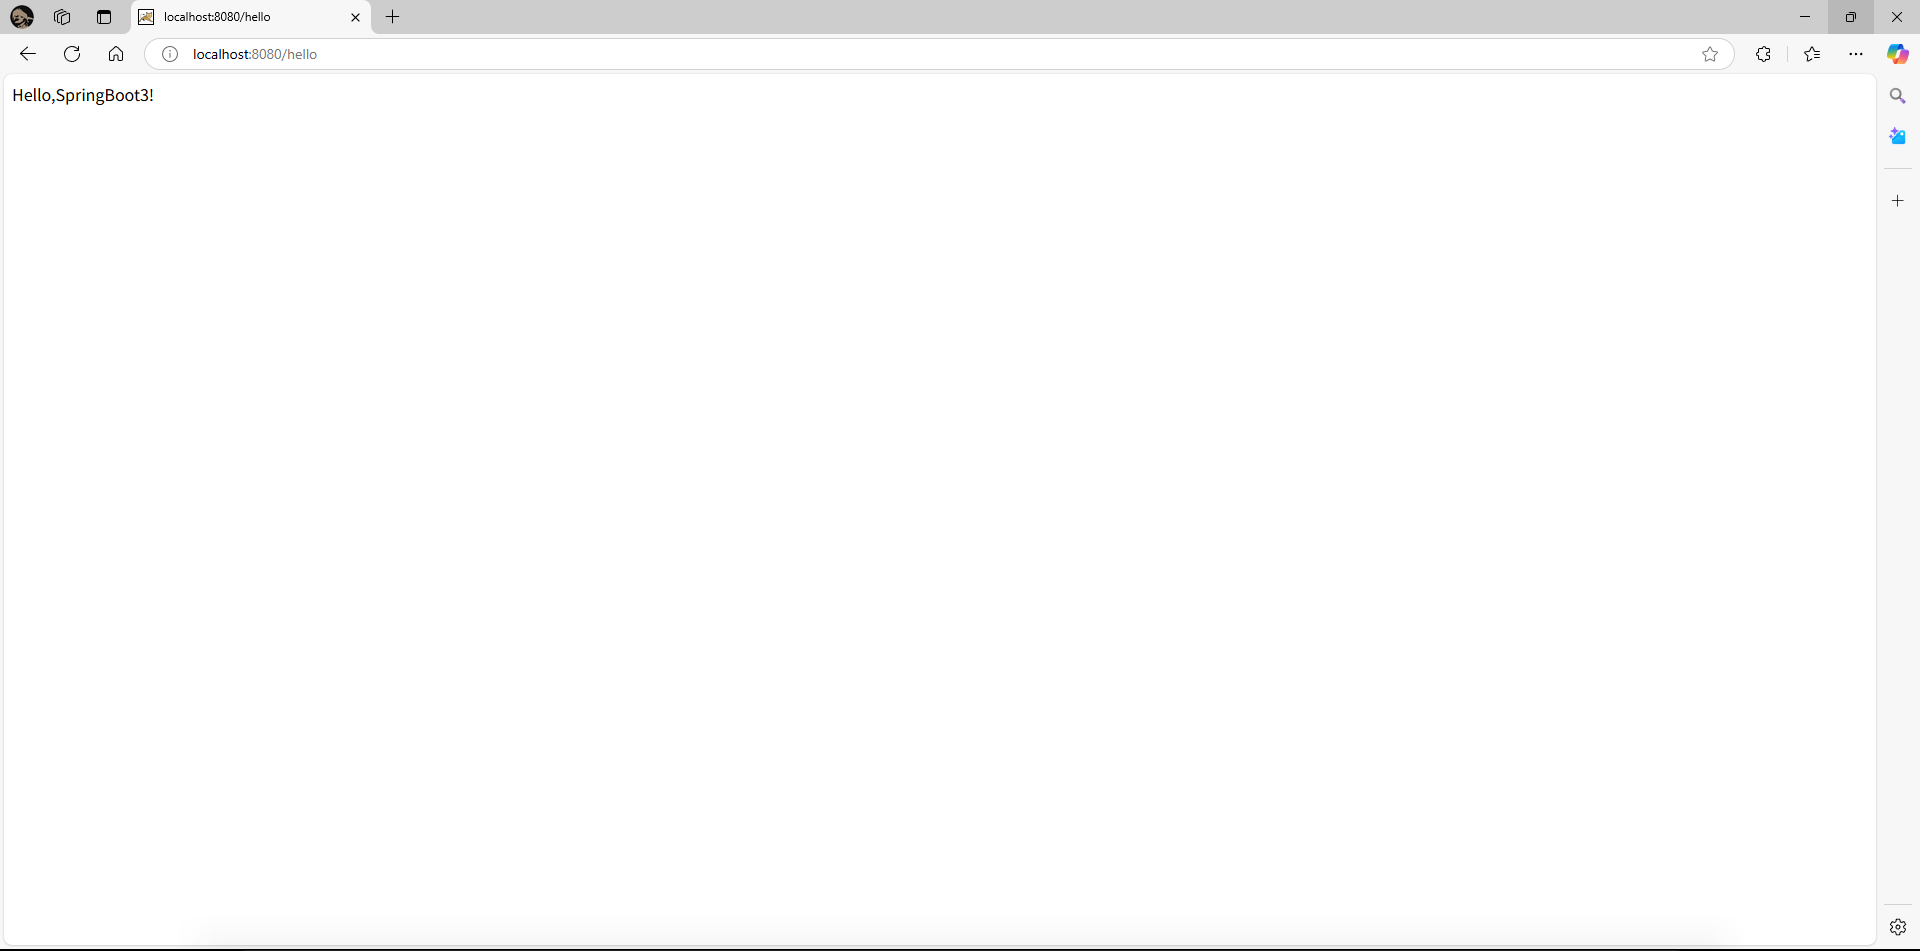
- 微信
- 赶快加我聊天吧

- 赶快加我聊天吧